
Guide to replacing motorcycle tire tubes in DR
Introduction
Replacing a motorcycle tire tube is a fundamental skill for any rider in the Dominican Republic, where road conditions and high tropical temperatures can frequently lead to punctures or air loss. A tube replacement is necessary when a puncture is too large to be patched effectively or when the tube has suffered structural damage from heat or long-term wear. Understanding this process ensures that you can maintain your vehicle's mobility and safety, whether you are performing the repair yourself or supervising a mechanic.
Knowing how to manage tire issues is vital for navigating both urban streets and rural routes safely. A properly installed tube maintains the correct tire pressure, which is essential for stable handling, optimal braking, and preventing premature tire wear. This guide provides the necessary context and steps to approach tube replacement with confidence and technical accuracy.
Essential tools for tube replacement
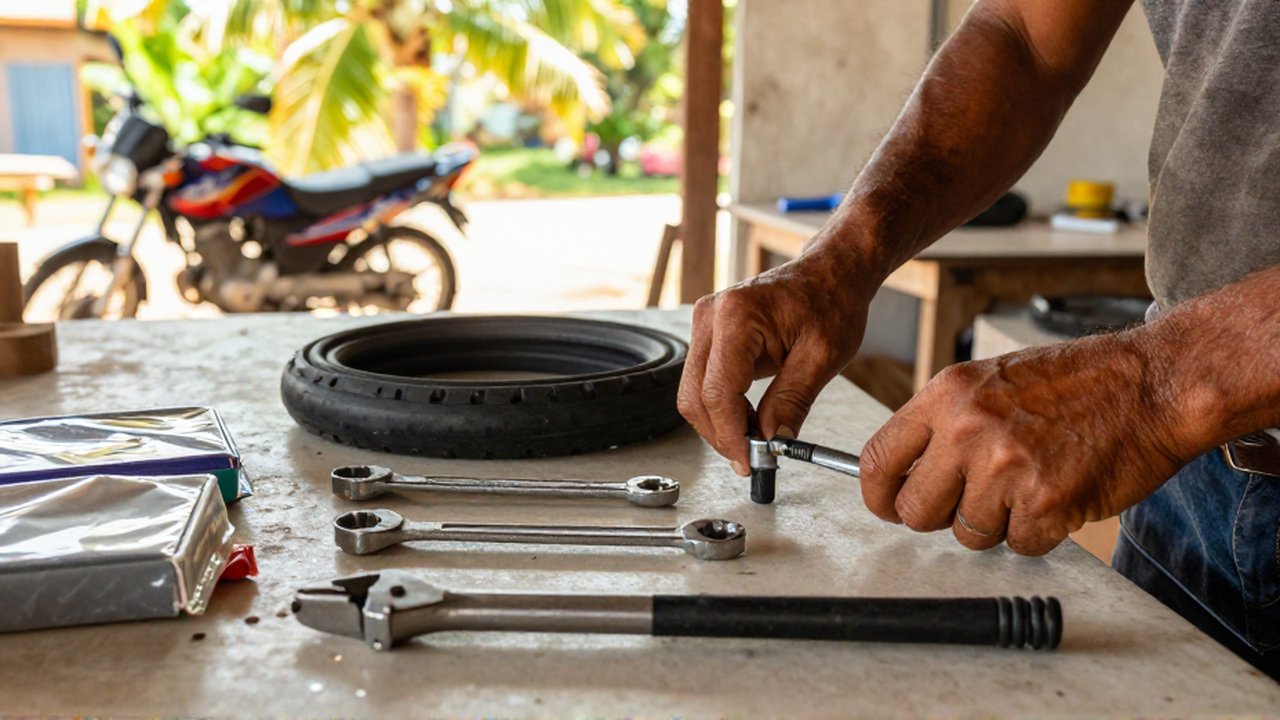
Before attempting to change a tube, you must gather the correct equipment. Having the right tools prevents damage to the tire rim and the new tube itself. In the Dominican Republic, these items are widely available at most local hardware stores or specialized motorcycle shops.
To perform the replacement, you will typically need:
- Tire levers: These are used to pry the tire bead away from the rim.
- New inner tube: Ensure it matches the exact size and valve type of your current tire.
- Valve core tool: Useful if you need to remove or adjust the valve.
- Pneumatic pump or floor pump: To reinflate the tire after installation.
- Soap and water solution: This helps lubricate the tire bead for easier installation.
- Wrenches or sockets: Depending on your motorcycle model, you may need these to remove the wheel from the swingarm or forks.
Steps for replacing the motorcycle inner tube
The replacement process requires patience and care to avoid pinching the new tube, which is a common mistake that leads to immediate failure. Follow these logical steps to ensure a successful repair.
First, remove the wheel from the motorcycle. This may involve loosening the axle nut and ensuring there is enough clearance from the brakes and chain. Once the wheel is free, deflate the tire completely by pressing the valve pin.
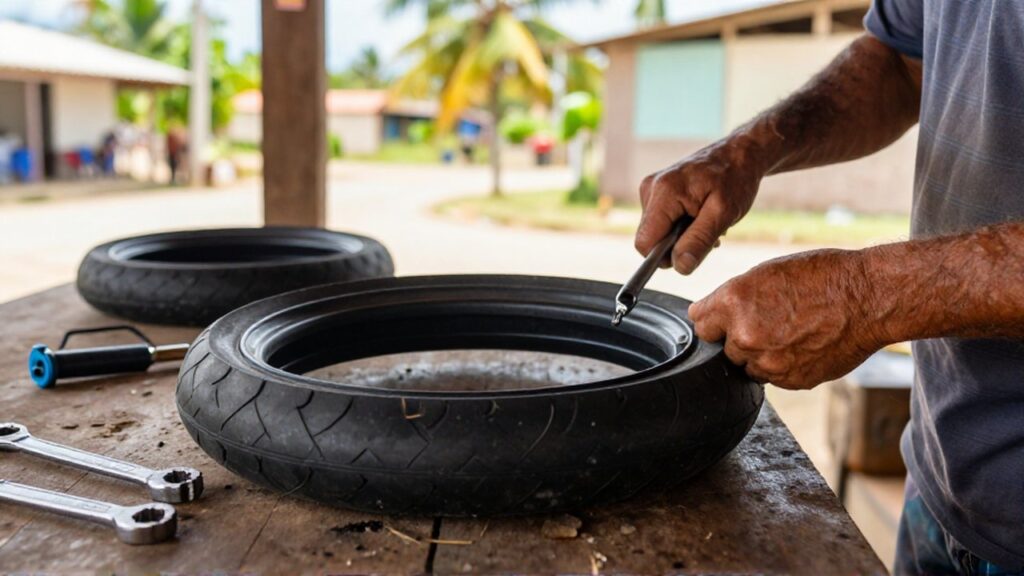
Next, use the tire levers to work the edge of the tire (the bead) over the rim. Start at one side and work your way around until one side of the tire is completely hanging off the rim. Carefully reach inside to pull out the old, damaged tube. Before installing the new one, inspect the inside of the tire casing for any sharp objects, thorns, or debris that caused the original puncture. If the cause is not removed, the new tube will fail instantly.
After inspection, take the new tube and inflate it slightly, just enough to give it a round shape. This prevents it from getting twisted or pinched during installation. Tuck the new tube into the tire, starting with the valve stem through the rim hole. Use your hands to push the tire bead back onto the rim. It is highly recommended to use your hands for as much of this as possible; using levers to put the tire back on significantly increases the risk of puncturing the new tube.
Finally, check that the tire bead is seated evenly around the entire circumference. Slowly add air and listen for any hissing sounds. Once inflated to the manufacturer's recommended pressure, reinstall the wheel onto the motorcycle.
Common mistakes to avoid during installation
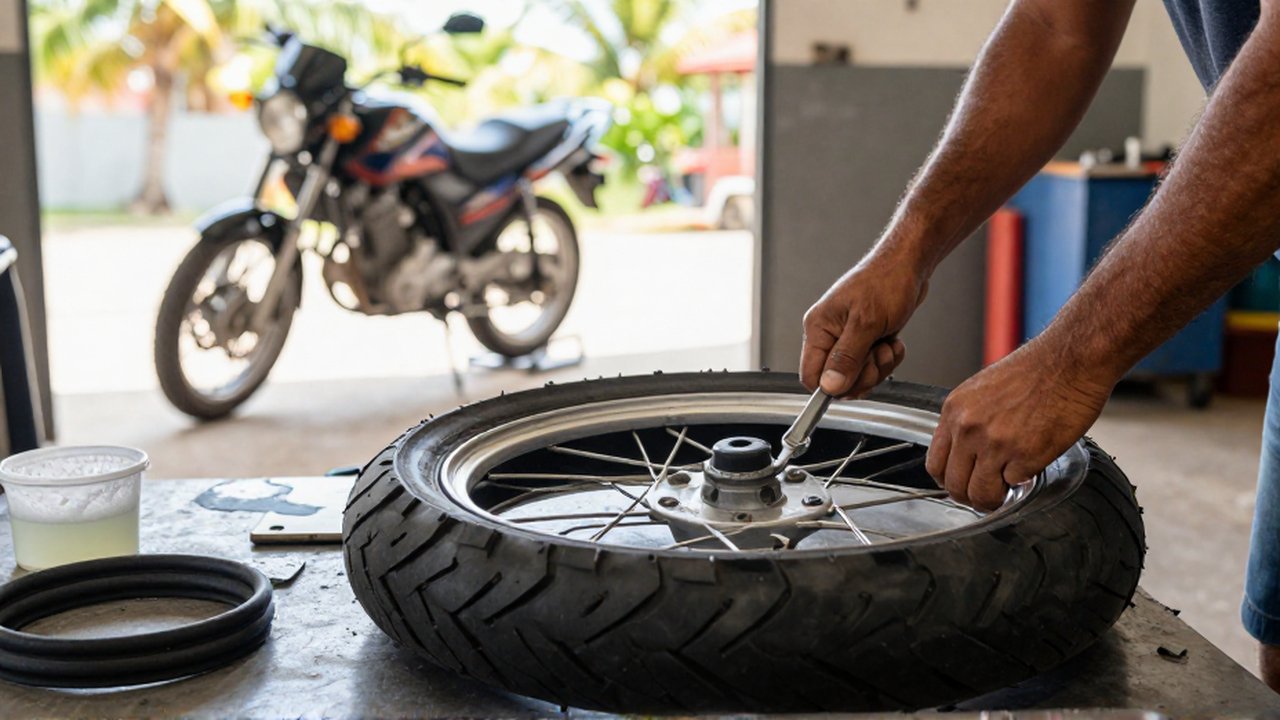
Many riders encounter issues shortly after a replacement due to preventable errors. The most frequent mistake is "pinching" the tube. This happens when the tire bead is not seated correctly or when a lever is used improperly, trapping the tube between the metal rim and the rubber tire. This results in a small hole that looks like a puncture.
Another mistake is neglecting to check the tire casing. Even if you replace the tube, a tiny shard of glass or a metal splinter stuck in the rubber will puncture your new tube within kilometers. Furthermore, always ensure the valve stem is perfectly aligned with the hole in the rim. If the stem is tilted, the valve might tear under the pressure of driving.
Benefits of maintaining proper tire pressure
Properly replaced tubes contribute to much more than just avoiding flats. Maintaining the correct inflation level is a pillar of motorcycle safety. A tire with correct pressure provides the intended "contact patch" with the road, offering the grip needed for turning and stopping.
In tropical climates like the Dominican Republic, heat can cause air pressure to fluctuate. A well-maintained tube helps stabilize these changes. Additionally, maintaining pressure improves fuel efficiency and prevents the inner tube from overheating, which extends the overall lifespan of both the tube and the outer tire.
Frequently asked questions
How do I know if I need a new tube or just a patch? If the puncture is small and located on the tread area, a patch is usually sufficient. However, if the puncture is on the sidewall, if there are multiple holes, or if the tube has been damaged by heat, a full replacement is safer.
Can I use a tube of a different size? No. You must use a tube that matches the specific dimensions (width and diameter) of your tire. Using an incorrect size can lead to improper seating and immediate damage.
Why is my new tube losing air immediately? This is often caused by a "pinch flat" during installation or a piece of debris still stuck inside the tire. Check the valve stem and the tire bead carefully for any signs of air escaping.
Do I need to replace the tire at the same time as the tube? Not necessarily. If the tire tread is still deep and the sidewalls are intact, you can replace only the tube. However, if the tire shows signs of cracking or excessive wear, it is best to replace both to ensure safety.
Leave a Reply