
Steps to replace a broken radiator hose

Introduction
A radiator hose is a critical component of your vehicle's cooling system, acting as the conduit that carries coolant between the engine and the radiator. Its primary purpose is to maintain a stable operating temperature by facilitating the constant flow of liquid to absorb excess heat. When a hose becomes brittle, cracked, or develops a leak, it can lead to a sudden loss of coolant, potentially causing the engine to overheat and suffer irreversible damage.
Replacing a broken radiator hose is a fundamental maintenance task that can prevent expensive mechanical failures. It is appropriate to perform this replacement as soon as you notice signs of swelling, leaking fluid, or visible cracks in the rubber. In tropical climates, where high ambient temperatures put extra stress on the cooling system, regular inspections of these hoses are essential for reliable transportation.
Signs of a failing radiator hose
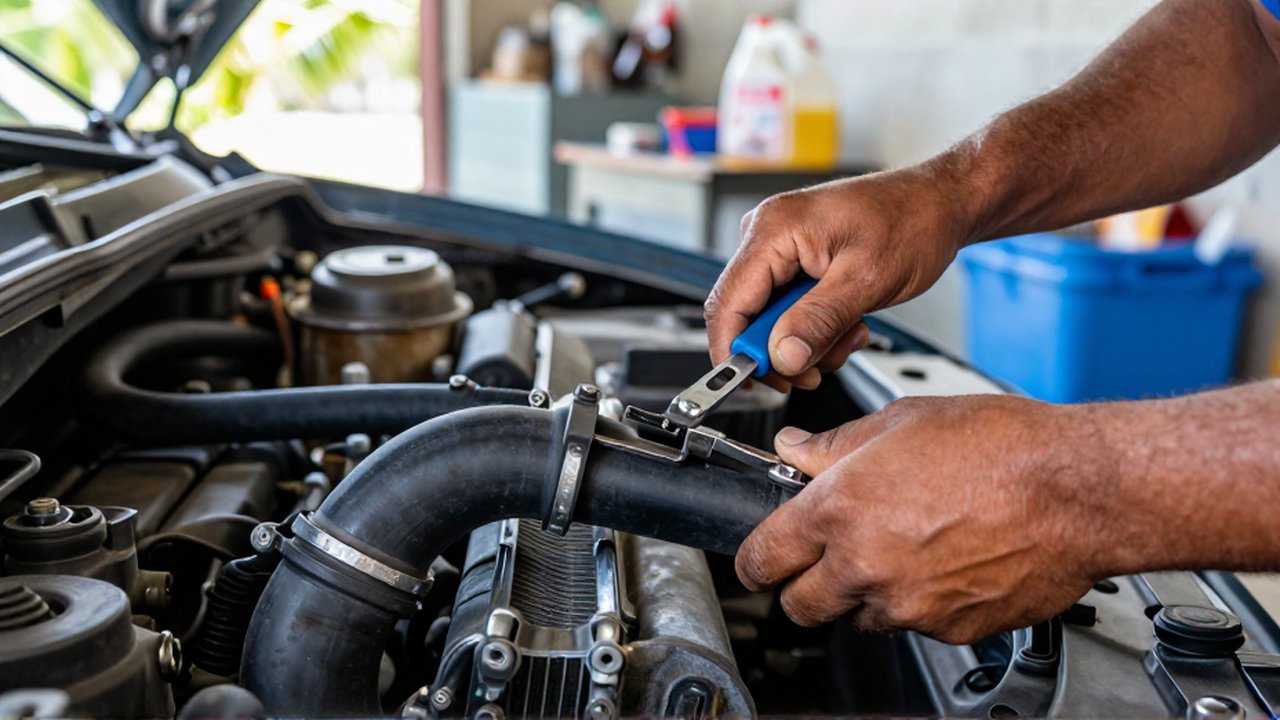
Before attempting a replacement, it is vital to identify why the hose needs attention. Common indicators of a failing hose include visible cracks in the rubber, bulging areas that suggest internal structural failure, or soft, spongy sections that lack the necessary firmness. You may also notice white or colored crusty residue around the connection points, which is a sign of a slow coolant leak.
Another warning sign is a sudden drop in coolant levels or the smell of sweet-smelling liquid (antifreeze) under the hood after driving. If you notice steam rising from the engine compartment, a hose may have burst entirely. Addressing these signs immediately is much more cost-effective than dealing with a blown head gasket caused by extreme overheating.
Tools and materials required for the job
To ensure a smooth replacement process, gather the necessary tools beforehand. Having everything ready prevents the need to stop midway through the job, which is especially important if the vehicle needs to be jacked up or if you are working in a cramped space.
| Item | Purpose |
|---|---|
| New Radiator Hose | Must match the specific make, model, and year of your vehicle. |
| Hose Clamps | To secure the new hose to the radiator and engine connections. |
| Pliers or Clamp Tool | For loosening and tightening existing or new clamps. |
| Drain Pan | To collect old coolant and prevent environmental contamination. |
| New Coolant | To refill the system according to manufacturer specifications. |
| Screwdrivers/Sockets | Depending on the type of clamps used in your vehicle. |
Step by step replacement process

The replacement process must be done with extreme caution. Most importantly, never attempt to open the cooling system while the engine is hot, as pressurized coolant can cause severe burns.
Drain the cooling system Locate the drain plug (petcock) at the bottom of the radiator or carefully remove the lower radiator hose. Place your drain pan underneath and allow the old coolant to flow out completely. This prevents a mess and ensures you are not working with a pressurized system.
Remove the old hose Using your pliers or screwdriver, loosen the clamps on both ends of the broken hose. Once the clamps are loose, slide them back along the hose. Pull the hose off the radiator neck and the engine inlet. If the hose is stuck due to corrosion or heat, gently wiggle it to break the seal.
Clean the connection points Before installing the new part, use a clean rag to wipe the metal necks of the radiator and the engine housing. Removing any debris, old rubber fragments, or corrosion ensures a watertight seal when the new hose is installed.
Install the new hose Slide the new hose onto the connection points. Ensure it is seated deeply and squarely against the metal necks. Once the hose is in place, reposition the clamps. The clamps should be positioned exactly where the old ones were to ensure they grip the strongest part of the hose.
Refill and bleed the system Pour fresh coolant into the radiator or expansion tank until it reaches the appropriate level. Start the engine and allow it to run to circulate the fluid. You must "bleed" the system to remove air pockets; this is often done by running the engine with the radiator cap off or using a vacuum filler, depending on the vehicle design. Check for leaks around the new hose immediately.
Common mistakes to avoid
One frequent error is using the wrong type of hose. While some hoses may look similar, they must be rated for the specific temperature and pressure requirements of your engine. Using a standard water hose instead of a reinforced automotive radiator hose will result in rapid failure.
Another common mistake is failing to tighten the clamps sufficiently or, conversely, over-tightening them to the point of crushing the new rubber. Additionally, many people forget to check the coolant level once the engine has cooled down after the first run. Air bubbles often settle after the initial fill, necessitating a second top-off.
Frequently asked questions
How can I tell if my hose is leaking or just sweating? If you see a constant drip or a large puddle, it is a leak. If you see a damp, moist residue around the clamp that does not drip, the hose may be "sweating" due to a loose clamp or a minor crack that requires attention before it becomes a full leak.
Can I use silicone hoses instead of rubber? Silicone hoses are often more resistant to heat and chemicals, but they must still be compatible with your vehicle's mounting style. For standard daily driving, high-quality OEM (Original Equipment Manufacturer) rubber hoses are usually sufficient and cost-effective.
How often should I inspect my radiator hoses? In high-temperature regions, it is recommended to perform a visual inspection every six months or during every oil change. Look for cracks, bulging, or softness to catch potential issues early.
What should I do if I run out of coolant during the refill? If you do not have the correct coolant, do not use plain tap water for long periods, as it can cause corrosion. Use distilled water as a temporary measure to reach a service station, but replace it with the proper coolant mixture as soon as possible.
Leave a Reply