
Steps to replace a timing belt on a car
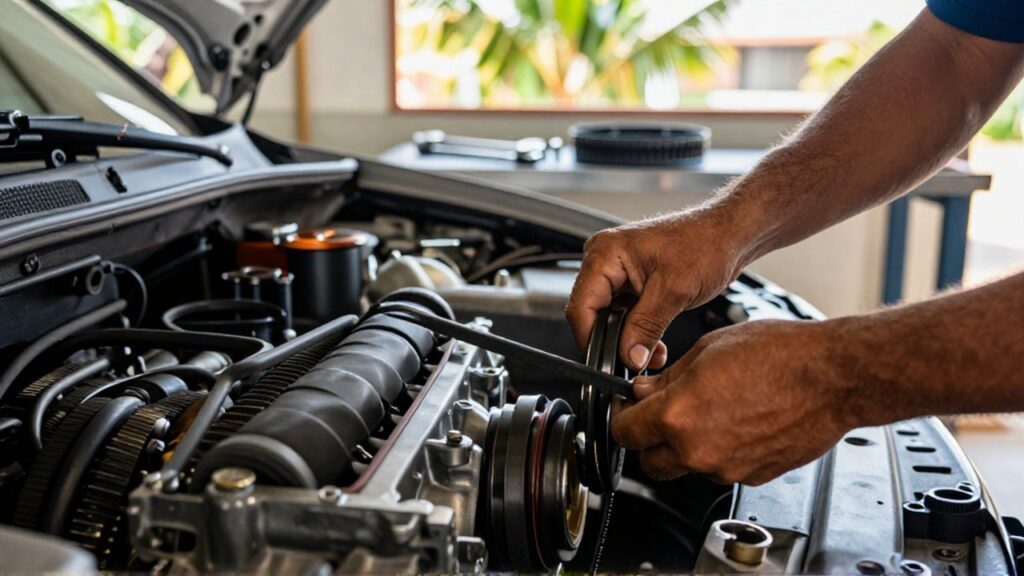
Introduction
The timing belt is a critical component in an internal combustion engine that synchronizes the rotation of the crankshaft and the camshaft. This synchronization ensures that the engine's valves open and close at precisely the right moments in relation to the position of the pistons. Because this component is made of rubber and subject to constant tension and heat, it eventually degrades and becomes prone to snapping.
Replacing a timing belt is a high-stakes maintenance task that is essential for preventing catastrophic engine failure. If a timing belt breaks while the engine is running, the valves may collide with the pistons, causing permanent and expensive mechanical damage. Therefore, timing belts should be replaced based on the manufacturer's recommended mileage intervals or when visible signs of wear appear.
For many drivers, understanding the replacement process is vital for both cost management and vehicle longevity. While this is an advanced mechanical procedure that requires precision and specific tools, knowing the logical sequence of steps helps in evaluating the work required and ensuring the job is performed correctly to protect the vehicle's integrity.
Importance of timing belt maintenance

Timing belt maintenance is not a matter of "if" but "when." Unlike an accessory belt, which might only cause the battery to stop charging or the air conditioning to stop working if it fails, the timing belt is strictly tied to the internal timing of the engine. In many modern "interference engines," a belt failure causes immediate and severe internal collisions.
It is recommended to inspect the belt regularly for cracks, fraying, or glazing. In tropical climates, such as the Dominican Republic, high ambient temperatures and humidity can accelerate the aging of rubber components. Relying solely on mileage is a common practice, but environmental factors and driving habits should also influence your replacement schedule.
Tools and preparation required
Before starting the replacement, you must gather the necessary tools to ensure the process is not interrupted. Working on a timing belt requires specialized equipment to hold components in place and ensure everything is aligned perfectly.
Typical requirements include:
- A comprehensive socket and wrench set.
- A torque wrench for precise tightening of critical bolts.
- Specialized timing tools (such as camshaft alignment pins or tensioner holders) specific to your vehicle model.
- A floor jack and jack stands for safe vehicle lifting.
- A new timing belt kit, which often includes a new tensioner and water pump.
Preparation involves securing the vehicle on a level surface and ensuring the engine is completely cool. It is also highly advisable to consult the vehicle's service manual to identify the exact timing marks required for your specific engine configuration.
Step by step replacement process

The procedure for replacing a timing belt follows a rigorous logical sequence. While the specific layout varies between vehicles, the fundamental steps remain consistent across most combustion engines.
Disassembly and access The first phase involves cleaning the engine area and removing all obstructions. You must remove the serpentine belt, various pulleys, and engine covers that shield the timing belt. Depending on the vehicle design, you may also need to remove the radiator or engine mounts to create enough workspace.
Setting the engine to top dead center This is perhaps the most critical stage. You must rotate the crankshaft manually until the timing marks on the crankshaft and the camshaft align perfectly with the marks indicated in the service manual. This position is known as Top Dead Center (TDC). If the engine is not positioned correctly before the old belt is removed, reassembling it will be significantly more difficult and carries a high risk of error.
Removing the old belt and components Once the engine is timed, loosen the tensioner to release the pressure on the belt. Carefully slip the old timing belt off the pulleys. At this stage, it is standard practice to replace the tensioner and the water pump if they are driven by the timing belt, as they are difficult to reach once the new belt is installed.
Installing the new belt Place the new belt onto the pulleys, ensuring it sits deep in the grooves. It is essential to maintain the timing marks established earlier. Work backward from a known fixed point to ensure the belt remains taut across the gears.
Tensioning and final verification Tighten the tensioner according to the manufacturer's torque specifications. Once the belt is installed, rotate the crankshaft manually several full turns. This allows you to verify that the timing marks still align and that there is no mechanical interference caused by the new belt. If the marks align after several rotations, the installation is likely correct.
Reassembly Reinstall all covers, pulleys, and accessories. Double-check that all bolts are tightened to the correct specifications before starting the engine.
Common mistakes and risks
The most frequent error during timing belt replacement is failing to align the timing marks correctly or failing to verify the alignment after a manual rotation of the engine. Even a single tooth misalignment can cause poor engine performance, increased emissions, or total engine destruction.
Another common mistake is reusing old tensioners or water pumps. Since the labor required to reach the timing belt is so intensive, replacing these peripheral components simultaneously is a critical preventative measure. Additionally, failing to use a calibrated torque wrench can lead to bolts being too loose or, conversely, too tight, which can strip threads or cause parts to snap under vibration.
Frequently asked questions
How do I know if my timing belt needs replacing? You should follow the manufacturer's scheduled interval, typically between 60,000 and 100,000 miles. However, if you notice engine hesitations, unusual noises from the timing cover, or visible cracks on the belt during inspection, you should replace it immediately.
Can I replace the timing belt myself? While it is possible for experienced DIY mechanics, it is considered an advanced task. Because the consequences of a mistake are extreme, many owners prefer to have a professional technician perform the service to ensure the timing is perfectly synchronized.
Should I replace the water pump at the same time? In most vehicles, the water pump is driven by the timing belt. Because the belt must be removed to replace the pump, it is highly recommended to replace the water pump and the tensioner at the same time to save on future labor costs.
What is an interference engine? An interference engine is a design where the path of the valves and the pistons overlap. In these engines, if the timing belt breaks, the pistons will physically strike the valves, leading to severe and costly internal engine damage.
Leave a Reply